# For a new website
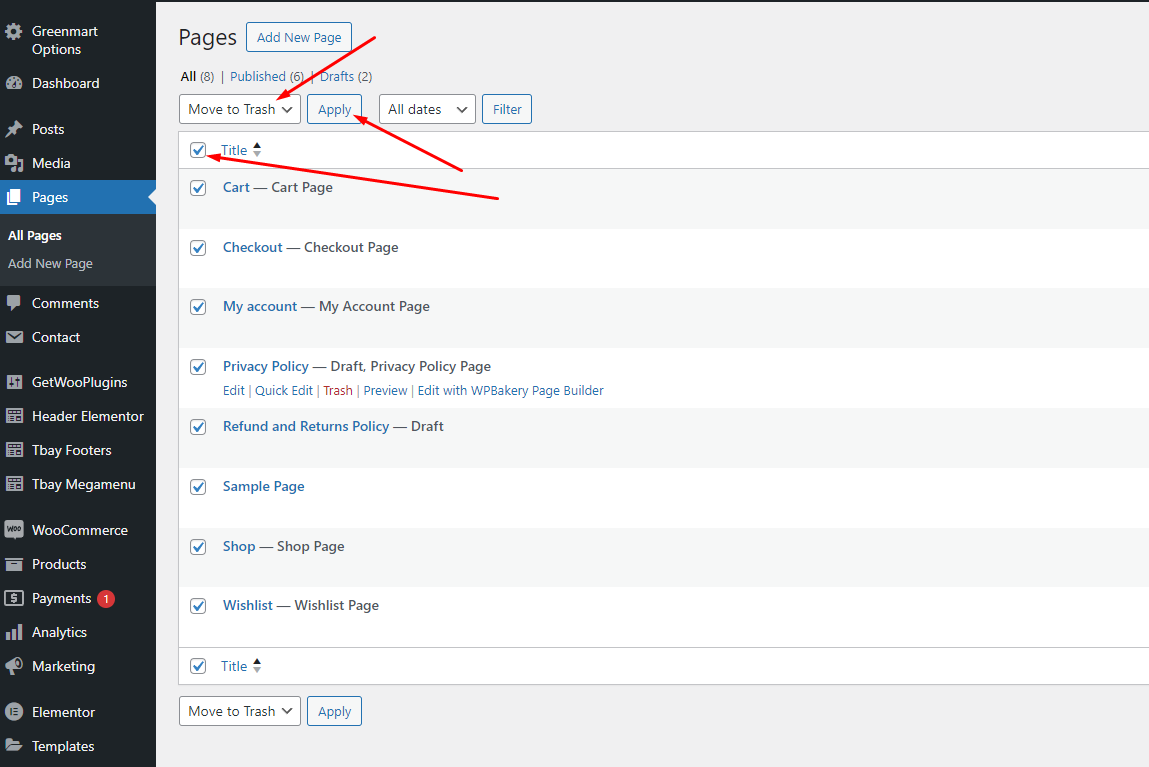
{% hint style="warning" %} **First, delete the default pages that the WooCommerce plugin created**
{% endhint %}
Move the Shop, Cart and Checkout pages to the trash
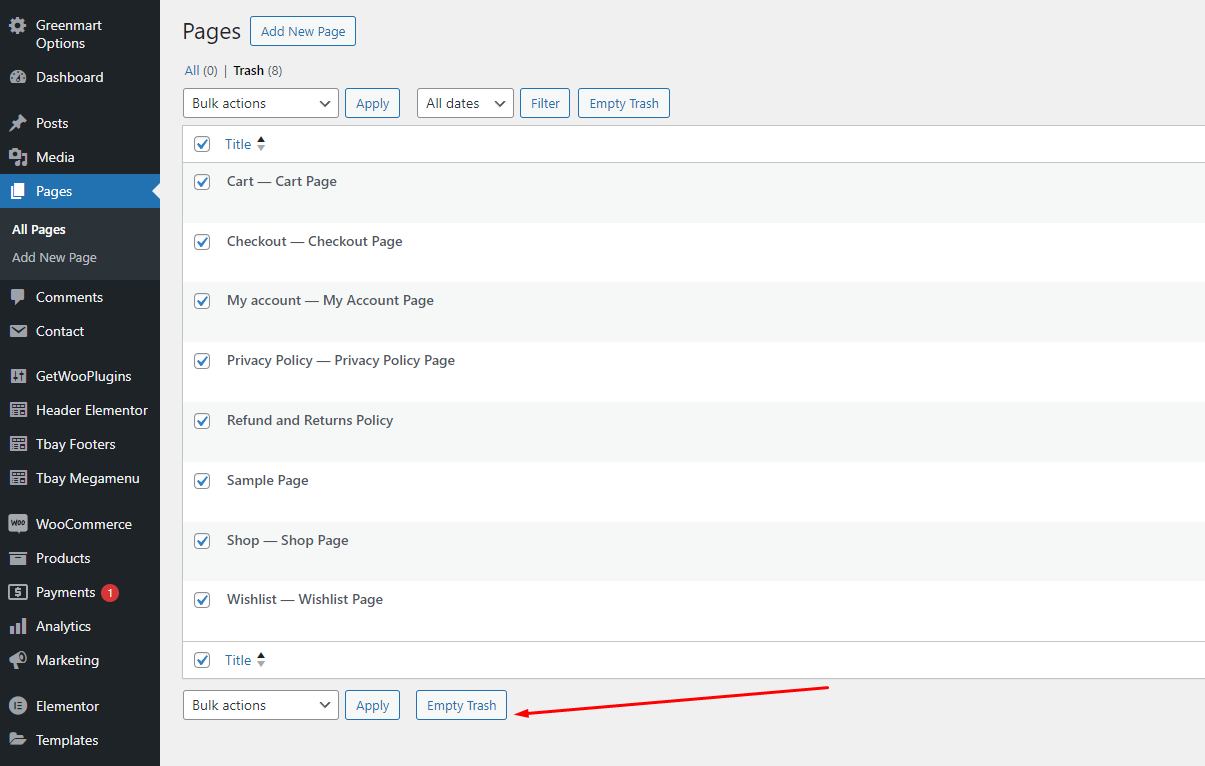
Empty the trash to completely remove those pages
* [x] **Step 1** - Login to your **WordPress Dashboard**.
* [x] **Step 2** - Go to **Appearance** > **Theme Setup** > **Click to Start**

* [x] **Step 3** - **Install Child Theme**

* [x] **Step 4** - **Import Content**: Select the **Demo you want**, then click on **Import**
**The process may take some time. Please wait**

:tada:**All done. Have fun!**

* [x] **Step 5 (Important Step)** - **Regenerate CSS** for **Elementor**: Styles set in Elementor are saved in CSS files in the uploads folder. Recreate those files, according to the most recent settings.

* [x] **Step 6** - Elementor Settings: Enable Elementor for Thembay Blocks. Disable Default Colors, Disable Default Fonts.

* [x] **Step 7** - Replace URL: Enter your old and new URLs for your WordPress installation, to update all Elementor data.

* **Old Url**: That is our demo link, eg:
* **New URL**: Your website's link

* [x] **Step 8** - Choose Shop Page: Go to **WooCommerce** > **Settings** > **Products** > **General** > **Shop Page**

{% hint style="info" %}
When you install the WooCommerce plugin, your website will automatically create a Shop page. Therefore, when importing Ruza data, it will have two Shop pages. You need to delete a page. Please follow this video:
{% endhint %}
{% embed url="" %}
* [x] **Step 9** - Fix style errors in cart and checkout pages (using Shortcode, instead of WooCommerce's default page) (If you forgot to delete WooCommerce pages after installing the plugin)
- Step 1: Delete all cart and checkout pages.
- Step 2: Create a new cart and checkout page with the shortcode.
- Step 3: Select page cart and checkout
{% hint style="info" %}
### **Watch detailed video instructions here:**
{% endhint %}
{% embed url="" %}
* [x] **Step 10** - Configure Mega Menu


#### Please follow this video:
{% embed url="" %}
* [x] **Step 11** - Configure the Product Attributes

You need to match the types of attributes, eg: Color => Type = Color


---
# Agent Instructions: Querying This Documentation
If you need additional information that is not directly available in this page, you can query the documentation dynamically by asking a question.
Perform an HTTP GET request on the current page URL with the `ask` query parameter:
```
GET https://thembay-docs.gitbook.io/ruza/import-sample-data/for-a-new-website.md?ask=
```
The question should be specific, self-contained, and written in natural language.
The response will contain a direct answer to the question and relevant excerpts and sources from the documentation.
Use this mechanism when the answer is not explicitly present in the current page, you need clarification or additional context, or you want to retrieve related documentation sections.